Categories
Categories keep content in a network organized and help users find the information they need faster. There are three main ways users can interact with categories:
- Assigning a category to a question before posting

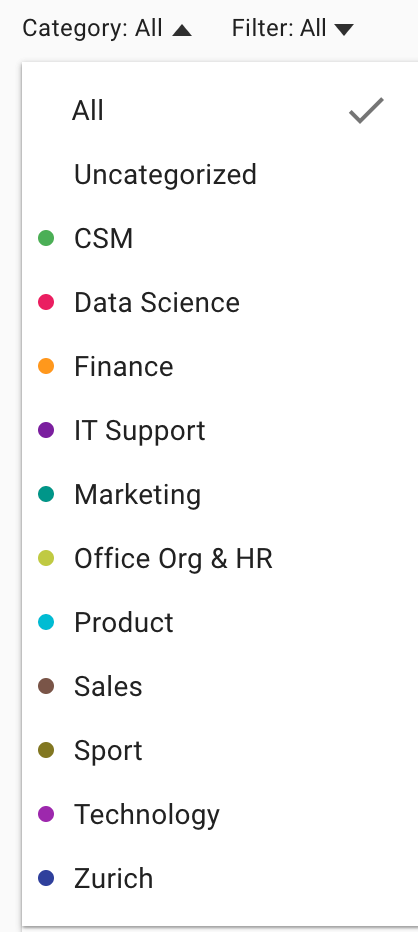
- Filtering search results or the by category

Tips for structuring categories
Categories can be structured in various ways depending on the size and goal of a network. When creating a structure for categories, it’s important to consider how users in your network will interact with the content available.
Categories can be created, edited or removed at any time, so be sure to also consider including categories that may only have short-term relevance like projects or topics.
An unlimited number of categories can be created, but we suggest between five and ten for the best result.
Common ways to structure categories include organizing content by departments, projects, topic regions or different products to your organization.
Examples include:
- Department (IT, Product, Marketing)
- Project (Mobile App, Office 365 Rollout)
- Topic (Board Meeting, Social Media)
Adding categories to a network
- Go to the Admin area, Content management and then Categories (Admin Area > Content Management > Categories) and turn the Categories toggle on.

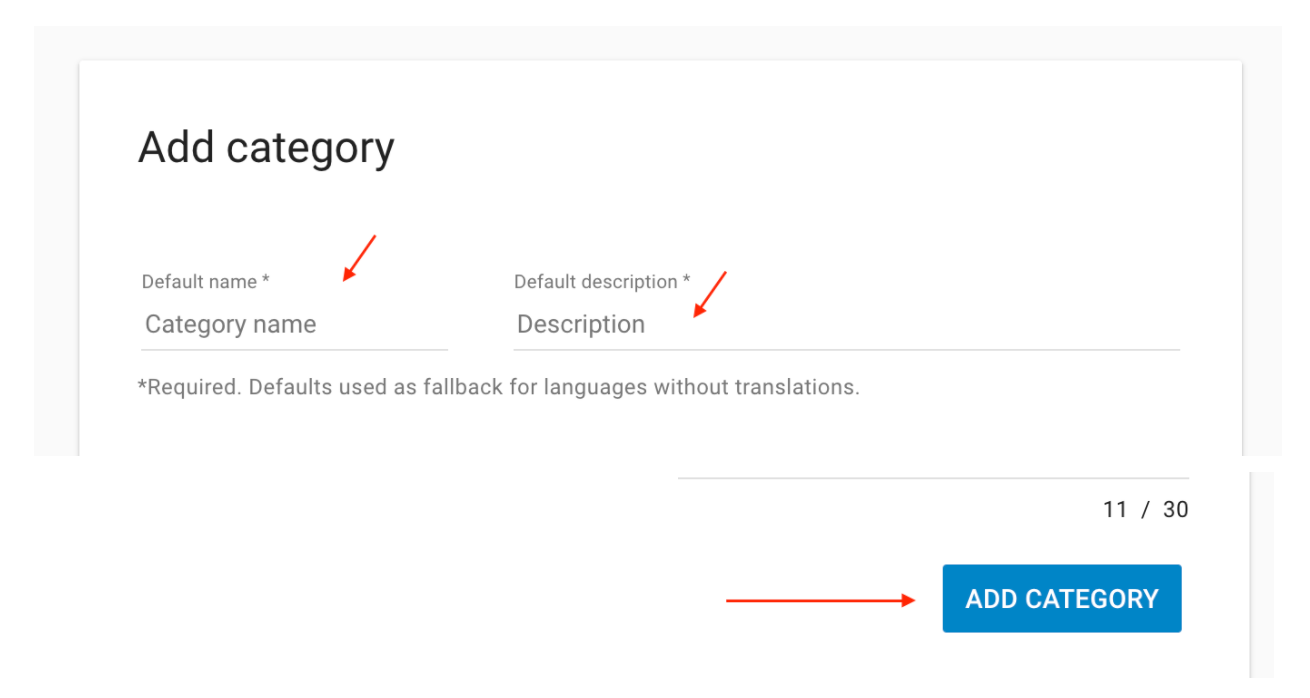
- Select add Category and create category name and description (*these fields are mandatory)
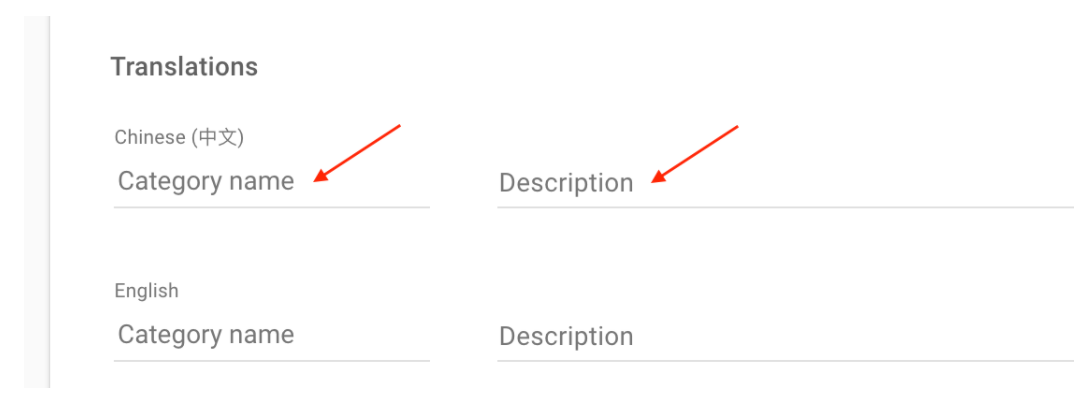
- Add translations for category names and descriptions; if these fields are left blank the default name will be used. Then select Save. New Categories will be immediately visible to users.

Editing category names
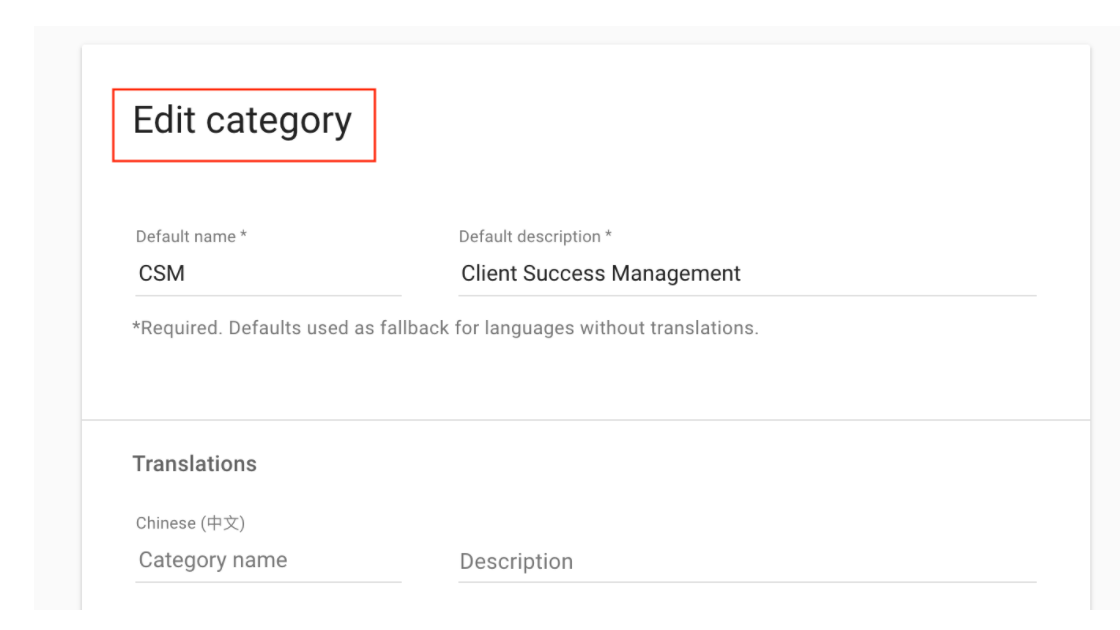
Go to the Categories tab and select the category you wish to edit, then save the change. If you have translated category names, also remember to update this section.

Deleting categories
-
To delete the category select the Delete button at the bottom of the Edit categories page.
-
Before a category can be deleted, any questions assigned to it must first be reassigned to a new category.

Assigning questions to a new category
-
After clicking on the Delete button, you will see a popup. In this popup, you can select the category you want to reassign the questions to. You can choose to reassign the questions to No category.
-
See this article for a deep-dive on Starmind’s automatic tagging.
For best practices and recommendations, continue to this article.
Updated 3 months ago
